Preparing Parts
Table of contents
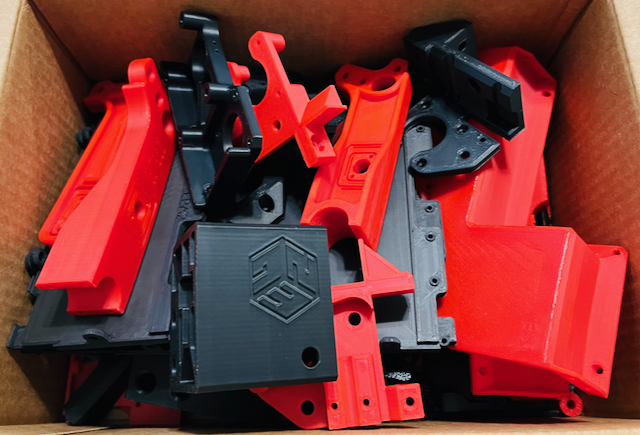
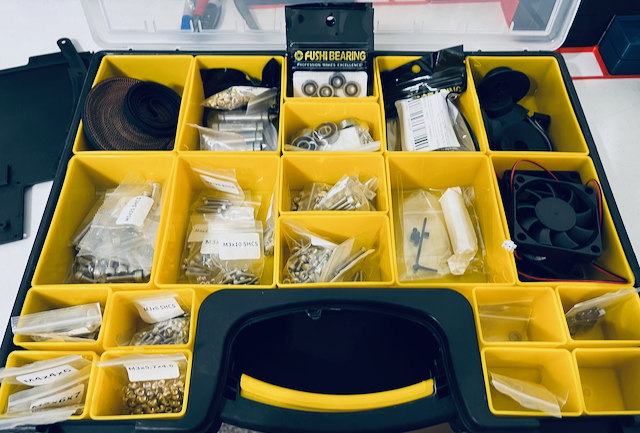
In order to streamline assembly, I inspected parts as they were received or printed. I then post processed, inventoried, and organized them. I used the BOM as my source of truth for inventory and highlighted the items I had on hand along with any notes I needed to make.


Inspection and Post Process
As the parts came off the printer, I inspected them for quality. I already confirmed tolerances with the calibration cube prior to producing my parts. At this point, I was looking at the finish and for any unacceptable defects.
![]() Be careful with sharp tools and heat sources.
Be careful with sharp tools and heat sources.
I used a deburring tool and a small pick to remove brims and clean up the edges. I also ran a lighter along the parts to remove discoloration and further smooth things out.
A heat gun would probably be a better choice.
Heat Inserts
Once most parts were printed, I went page by page in the build manual and sunk the appropriate heat inserts. By placing all the inserts in advance, I could just pick up and go when it was time to build, rather than pause to place them at each step. I just used a soldering iron with a standard tip to sink these, no special tools.
![]() Use a flat metal surface to push against the insert after it is in place to help it set level and flush to the plastic part.
Use a flat metal surface to push against the insert after it is in place to help it set level and flush to the plastic part.
Electronics Frame Rims (EF__)
The electronics frame rims or EF__ parts needed to be glued together with EFJ for final assembly. I took a second to use some super glue and complete this process after I placed the heat inserts. Once again, this made sure these parts were ready to go when I get to this phase of mechanical assembly.
![]() I split some of the longer rims so they could be printed on my Voron 0.2. This also meant printing additional
I split some of the longer rims so they could be printed on my Voron 0.2. This also meant printing additional EFJs and an additional glue joint. I’m considering not using the glue joints on final assembly as each rim has a dedicated mount hole. See here for more information.
Lubricating Bearings

I also batch lubed all of my linear bearings so they would be ready to go when I started building. I used the following method:
- Clean the Bearings – I simply soaked them in high percentage (>90%) isopropyl alcohol for a while to clean out any shipping oils and other contaminants. I let them drip and air dry. The IPA evaporates pretty quickly.
- Pack the Bearings – I jammed as much grease as I could into the bearings. I used Mobilux EP2 because I had it on hand.
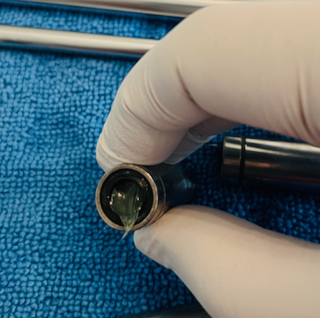
- Work in the Grease – Using a clean linear rod, I plugged the open end of the bearing as I slid it on the rod. This pushes as much grease as possible into the bearing races. Move the bearing up and down the rod to work as much grease as possible into the races.
- Storage – Once lubricated, I wiped up any excess grease leaving just a thin layer on the outside of the bearing for protection. I cleaned up the linear rod and placed the bearings back in a bag for storage to keep them free of any debris.
Extrusions
I went with the 2040 extrusion mod, 350mm to be exact. I needed to tap one hole on the bottom of each extrusion to fit an M5 screw for the rubber feet. The appropriate way would be to use a tap set and thread the ends.
I was lazy and used a little 3 in 1 oil and an old M5 screw. The aluminum is soft enough I could cut 1/2 to 1 full turn before backing out to clear the threads. Take it slow if you go this route.