The Ender of an Era
Table of contents
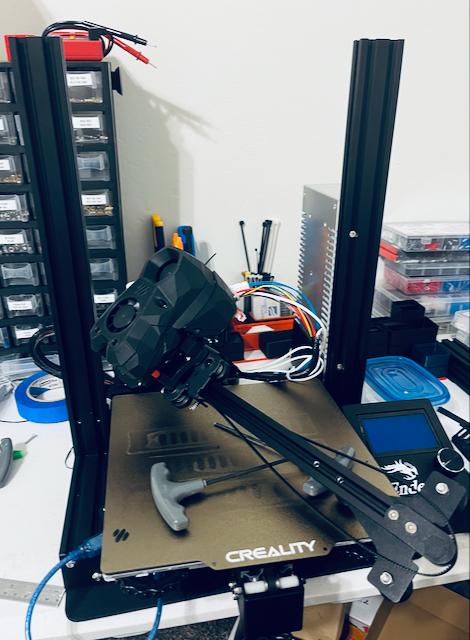
![]() My Ender 3 Neo had the same extrusion sizes as the Ender 3 Pro (the standard conversion printer). It did however have the fatter power supply.
My Ender 3 Neo had the same extrusion sizes as the Ender 3 Pro (the standard conversion printer). It did however have the fatter power supply.

Disassembling the Ender 3 is pretty straight forward. Place the extrusions off to the side. Pull out any electronics that will be reused. Separate the bed plate. The build surface itself can be left intact. Make sure to hold on to anything planning to be upcycled (PEI sheet, leadscrew, nut, etc.). The POM wheels, mounts/brackets, and old belts are basically garbage at this point. I held onto most of the screws, I can usually find a use and the M5 screws came in handy as a cheap thread tap.
Old X Axis
The old X axis is a 345mm 2020 extrusion. This was the only one on my printer without the ends tapped. I did not have a tap set on hand. With some patience and a little 3 in 1 oil I had laying around I used an old M5 screw to slowly cut threads.
![]() Saws cut, drills make holes, and sharp metal hurts.
Saws cut, drills make holes, and sharp metal hurts.
Z Screw
I reused the Z screw from the Ender. This required cutting it down to the appropriate length. 300mm is specified in the BOM. I simply lined it up with one of the 300mm leadscrews I purchased and cut it with a hacksaw. The next appropriate step would be to bevel the edge. Instead, I hid it on the bottom side of the printer. Regardless, make sure to clean the leadscrew after cutting it then thread a nut on/off the cut end several times to help clean it up.
![]() The stock Ender 3 leadscrew nut was not a perfect fit for the E3NG upgrade. If reusing the leadscrew, consider still purchasing a new leadscrew nut.
The stock Ender 3 leadscrew nut was not a perfect fit for the E3NG upgrade. If reusing the leadscrew, consider still purchasing a new leadscrew nut.

Bed Plate
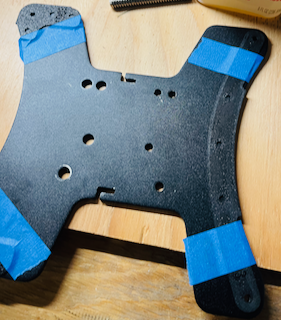
In order to mount the bed plate, it requires some new holes to be drilled. Fortunately, the part files also include templates. After printing those off, I taped them to the bed plate to keep alignment. A little more 3 in 1 oil (real cutting oil would be best) and a drill press made quick work of this. If screwing directly into the bed, the manual states use a 3.5mm drill. For my fellow Americans, a 9/64” bit is 3.57mm… close enough.